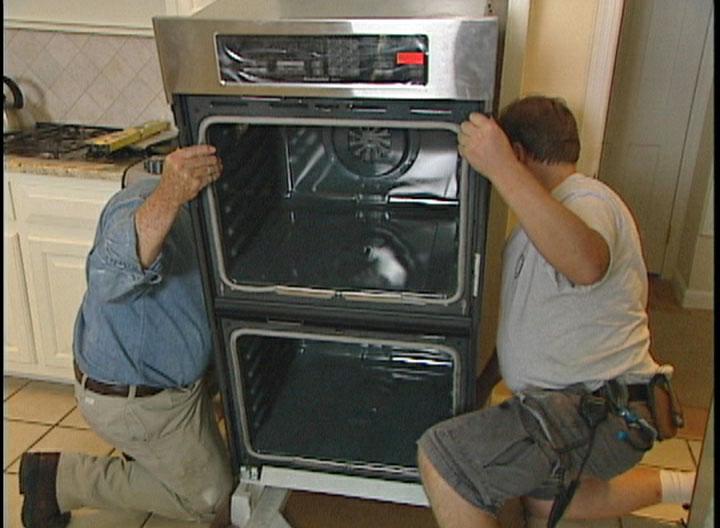
The installation of an oven might seem like a straightforward task, but it involves precision, knowledge, and adherence to safety protocols to ensure optimal functionality. Whether it’s a traditional electric oven, a modern gas-powered model, or an advanced convection oven, proper installation is paramount for both efficiency and safety.
Before embarking on an oven installation journey, it’s crucial to gather all the necessary tools and equipment. This includes but isn’t limited to a screwdriver, adjustable wrench, pipe wrench (for gas ovens), electrical tape, and a level. Equally important is familiarizing oneself with the manufacturer’s installation instructions specific to the oven model.
The location for the oven installation needs meticulous consideration. Ensure the designated space meets the necessary requirements such as proper ventilation, adequate spacing, and proximity to electrical or gas connections. Also, verify that the flooring and surrounding area can support the oven’s weight.
For electric ovens, the installation process often involves electrical wiring. This step necessitates caution and, ideally, the expertise of a qualified electrician. It’s essential to shut off the power supply to the designated area before commencing any electrical work. Follow the manufacturer’s wiring diagram meticulously to connect the wires properly, and ensure the grounding is secure.
Gas oven installation requires a different set of precautions and procedures. It involves connecting the gas line to the oven. It’s crucial to turn off the gas supply before disconnecting or connecting any gas lines. Utilize pipe joint compound or gas-rated Teflon tape on the threads to prevent gas leaks. Once connected, perform a leak test using soapy water to check for any gas leaks around the fittings.
Proper ventilation is key, especially for gas ovens. Adequate airflow ensures the safe dispersion of any gas fumes that may accumulate during oven operation. Make sure the oven is installed in an area with proper ventilation as per the manufacturer’s recommendations.
Using a level during installation ensures that the oven is correctly aligned. A balanced oven not only looks aesthetically pleasing but also ensures even cooking and baking.
Upon successful installation, it’s imperative to perform a thorough inspection. Test the oven’s functionality by running a short preheating cycle to ensure it heats up evenly and reaches the desired temperature. Check all controls, timers, and settings to ensure they are functioning correctly.
Finally, safety should remain a top priority throughout the installation process. If unsure about any step or encounter difficulties, it’s wise to seek professional assistance. Amateur installation errors could not only compromise the oven’s performance but also pose safety hazards such as gas leaks, electrical issues, or fire hazards.
In essence, while oven installation might seem like a routine task, it demands meticulous attention to detail, adherence to safety protocols, and a thorough understanding of the appliance. By following manufacturer guidelines, leveraging appropriate tools, and considering safety as paramount, one can successfully install an oven, ensuring both functionality and peace of mind.


