Whether you are looking for wireless printing or want to share your Brother printer over a network, you should first connect it to Wi-Fi. However, the connection process varies depending on the model of your printer—and it may be a daunting task finding the exact steps.
Here, I have tried to ease the Wi-Fi connection process—for a wide range of Brother printer models.
On Printers With Touch Panel
If your printer has a touch panel, you can easily use the graphical user interface to go to the Wi-Fi settings and connect it to a Wi-Fi network. Here, we will see how to connect the Brother MFC-J2720 printer to Wi-Fi.
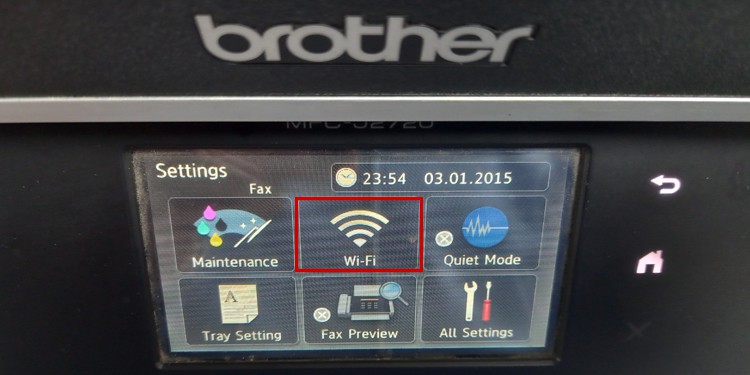
- Touch the gear icon (Settings) on your printer’s touch panel.
- Select the Wi-Fi button.
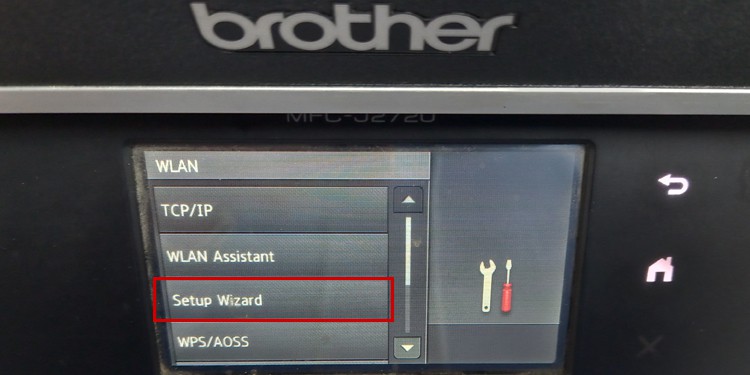
- Tap the Setup Wizard option.
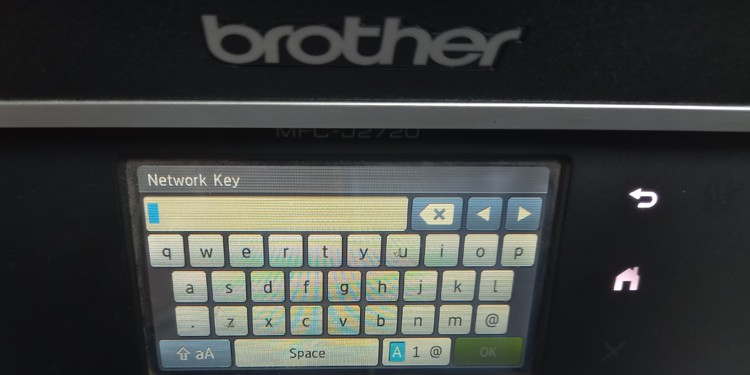
- Select the Wi-Fi network.
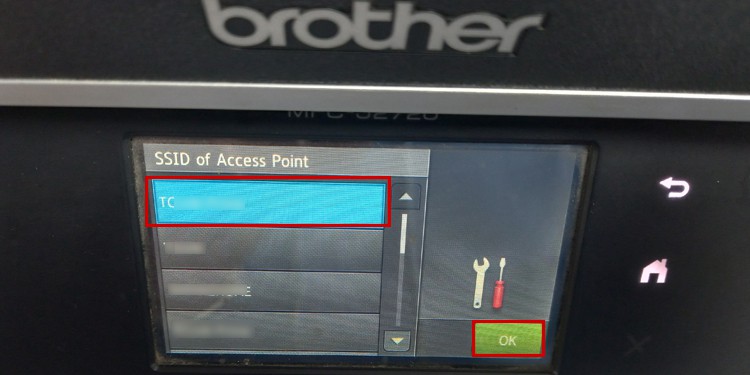 Click
Click
Similarly, you can also use a WPS PIN to connect such printers to Wi-Fi.
- Open Settings of your Brother printer.
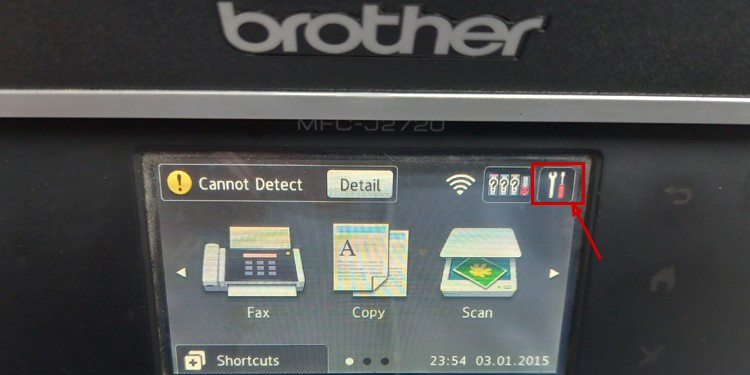 Tap Wi-Fi.
- Choose the WPS w/ PIN Code option.
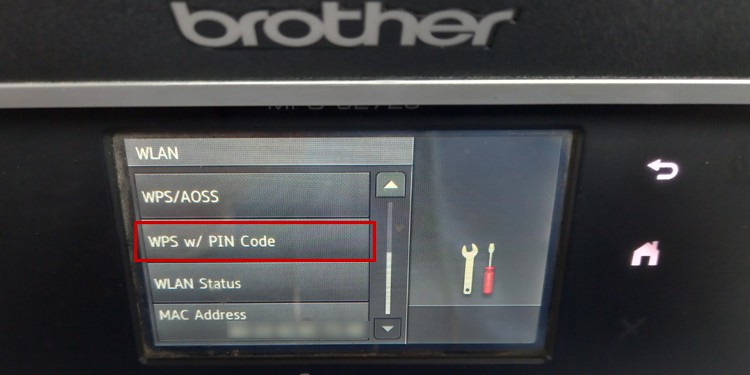
- You will see a WPS PIN on the display panel of your printer.
If your printer has a physical Wi-Fi button with a small LCD screen, like in Brother DCP-L2520DW printer, follow these steps to connect it to Wi-Fi.
- Tap the Menu button on the button panel of your printer. It will show General Setup on the screen.
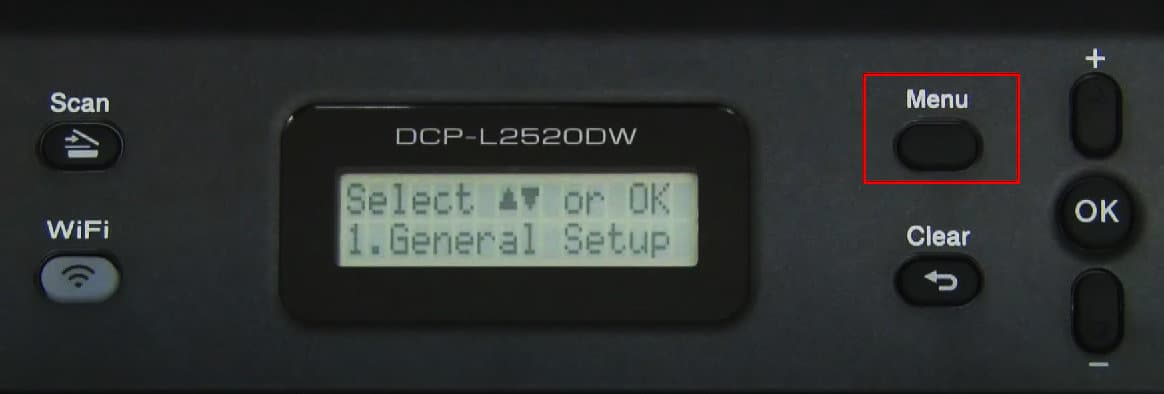
- Use the Down button to go to the Network option.
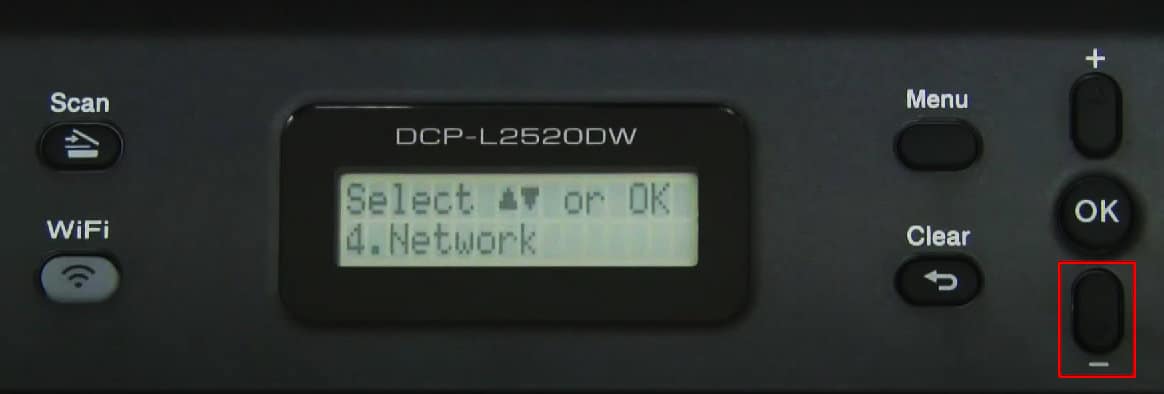
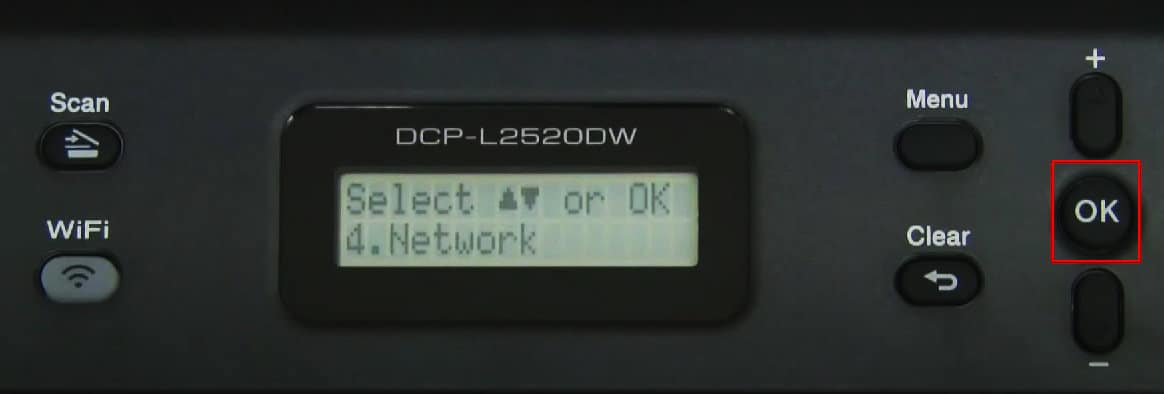
- Press OK.
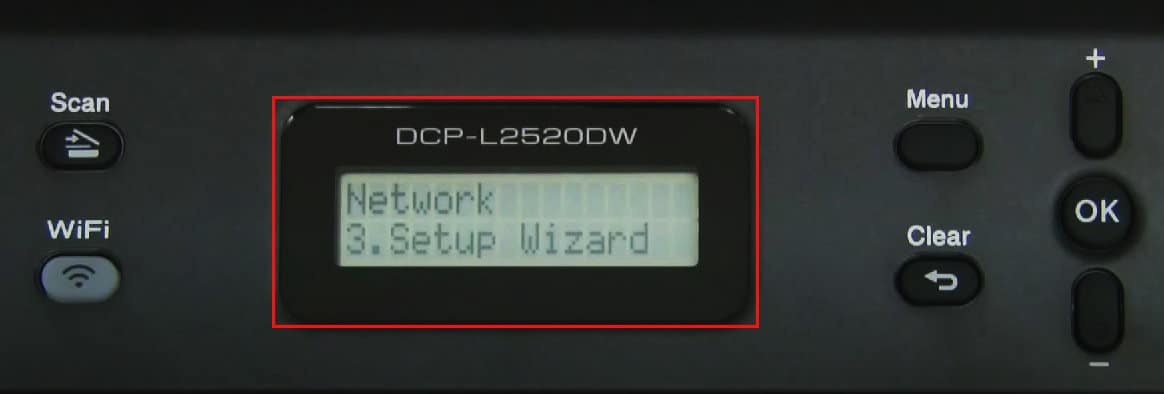
- Again use the Down button to go to Setup Wizard and press OK.
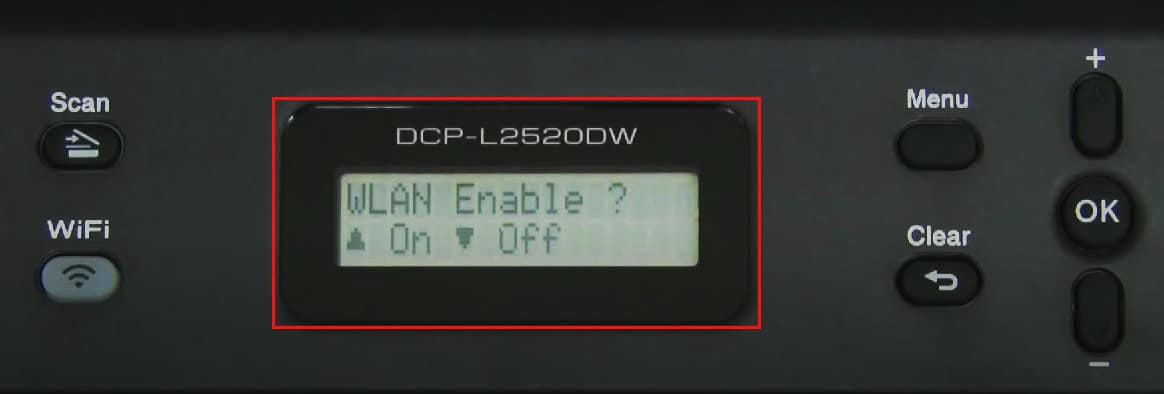
- Press the UP Arrow button to enable the WLAN feature.
- It will start searching for available Wi-Fi networks.
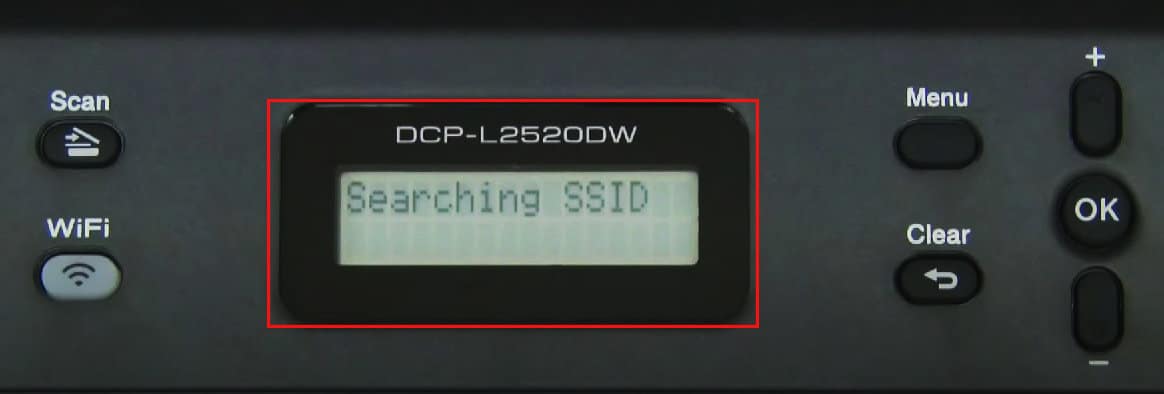 Hoose your Wi-Fi SSID.
 - Enter the Network key on the next screen. You can use the Up and Down buttons to enter the password.
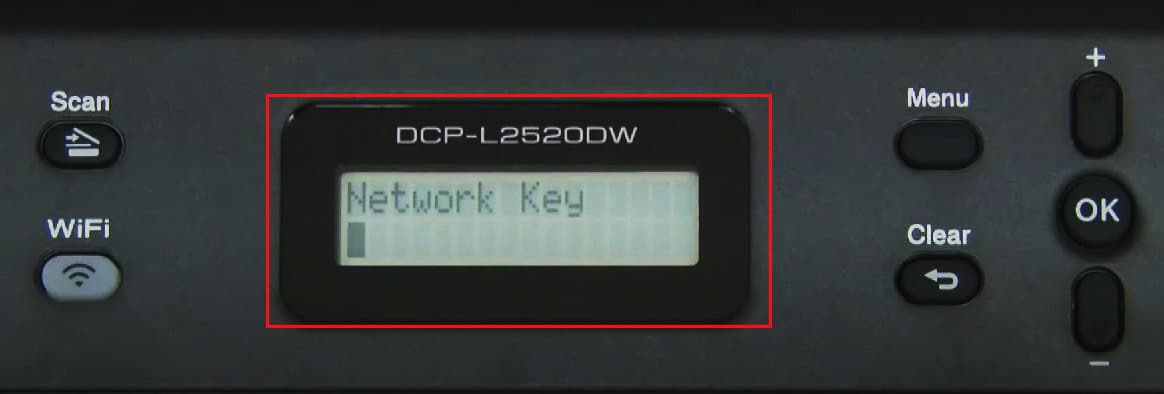
- Tap OK. Once the printer is connected to the network, you will see a Printing message on the display panel.
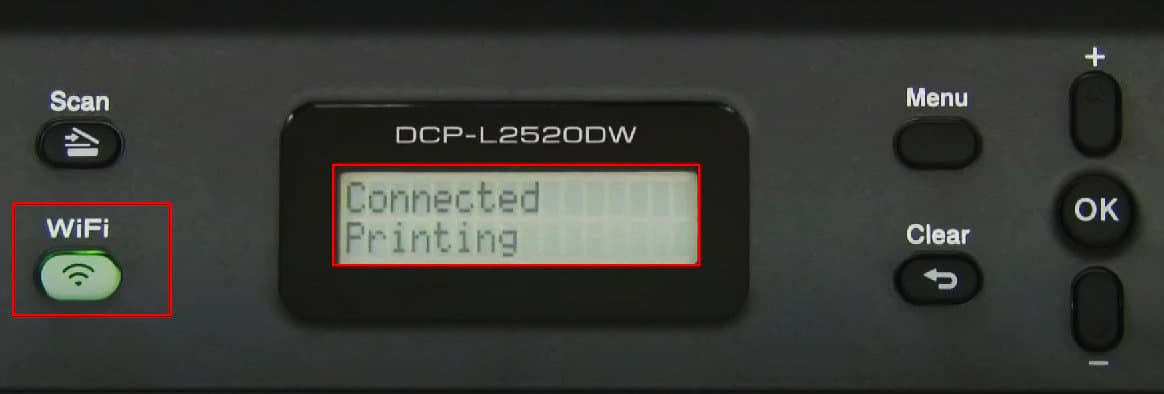
- The printer will eject a page with network configuration details and the Wi-Fi button on the button panel glows in green color.
On Printers With Go Button
If your Brother printer has a Go button on the button panel, you will also find a small WPS button in the back panel. You can use this button to connect the printer to a Wi-Fi network. One example of such a printer is the Brother HL-2270DW printer.
First, go to the button panel of your router and press the WPS button.
Keep pressing the button until the WPS indicator starts flashing.
- Now go to the back panel of your printer and locate the hole with the Pen tip symbol.
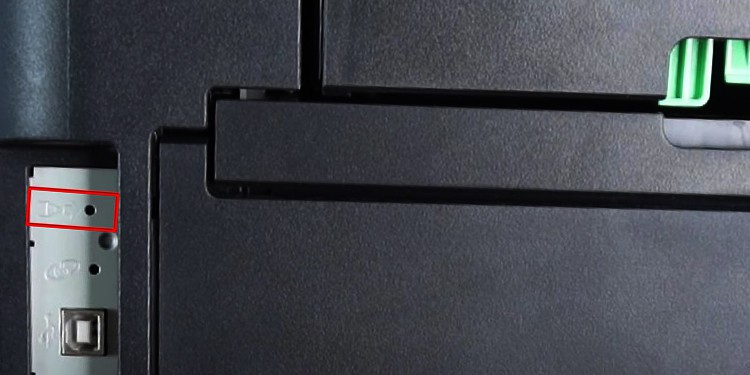
- Get a pen or a paperclip and press inside the hole for a few seconds. You will see a green LED blink.
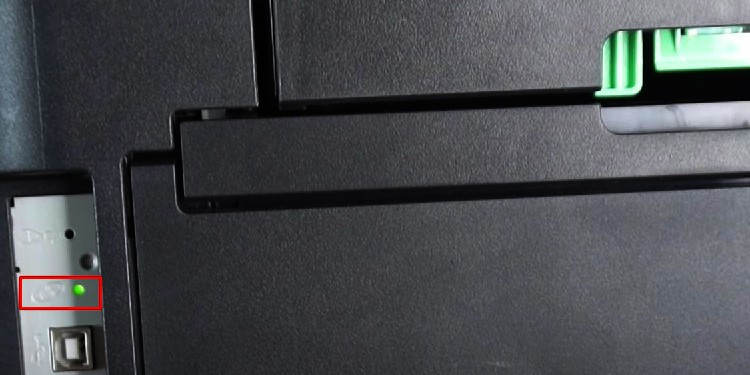
- Then go to the front panel of your printer. You will see the Toner and Drum indicator will blink for a while.
- Wait till the Ready indicator glows and the printer ejects a printout with the wireless connection details.

